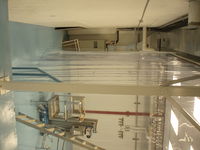
CleanRoomConstruction2011
7/14/11
Preparing to raise the clean room.
1.) Floor protective mats from Ram Board. BMC West in Idaho Falls has 2 rolls (38" x 100' @ $57.03 each)
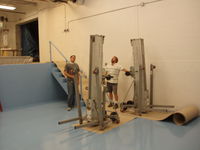
2.) Rent 2 scissor lifts from pro rental (233-4770). $150/weeks each
3.) Rent a crane from Rick @Partner Steel (233-2371) $85/hr to lower the lifts into the basement. (Partner steel gives ISU hourly rates)
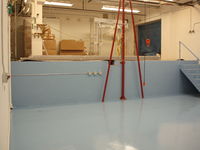
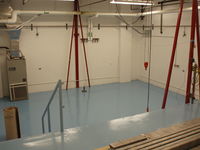
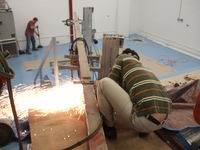
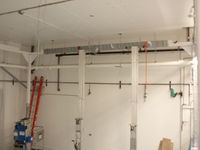
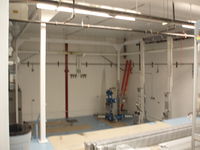
Below are pictures of the freshly painted clean room floor.
7/15/11
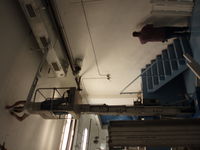
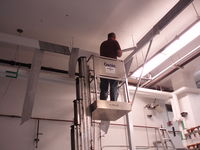
Removing the 1 ton crane:
7/18/11
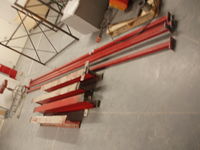
Got organized to install the main frame
7/19/11
3-D removed water lines that were in the way.
7/20/11
ISU's facilities people remove the ceiling lights (Kent 380-9814 his boss is Ed Cash : 242-8192)
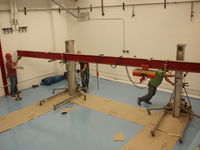
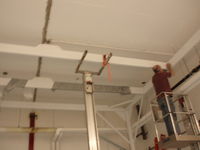
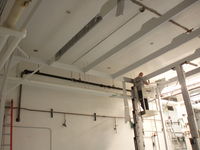
Put up 2 main frame beams.
7/21/11
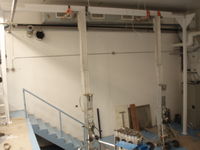
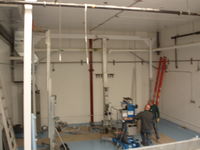
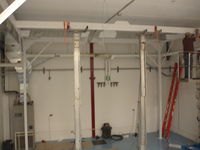
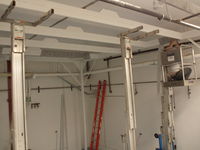
Main support frame is up
7/22/11
Install corner braces
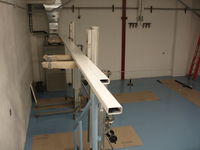
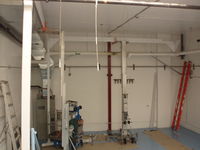
Install Center Beam tubes to support Fans
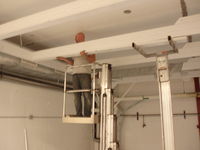
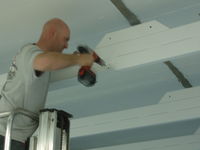
Install Fan and light mounts on one side, we will put the fans up on this one side, install the remaining mounts, and then slide the fans out into the proper locations along the center beams.
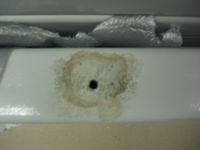
Blemish
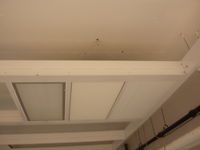
There is a spot on the top of the Center beams (outside the clean room ceiling which appears to be where the powdercoat failed to adhere.
The threaded rod support plate covers the spot. You can barely see the blemish as a yellow coffee like stain through the crack.
7/25/11
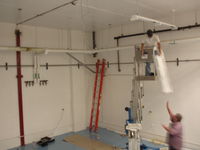
Our goal today will be to install the fans and lights.
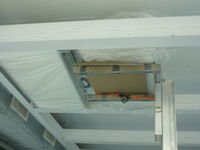
First, 4 fans are positioned on the center beam mounts. Care is taken to keep from soiling the filters. Plastic is left over them and a cardboard layer is inserted between the filter base and the lifting forks.
Then the remaining center beam fan supports are put in place
Then the fans are spaced out into their proper locations and the T-braces are installed. We placed plastic around the HEPA filters and cardboard between the lift forks and the filters.
Finally the lights are put in place. The lens covers are removed to keep from scratching.
7/27/11
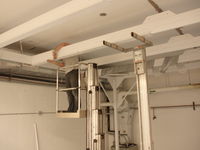
The lights and fans are in place now.
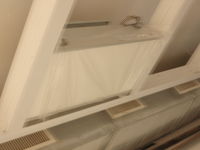
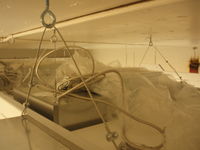
We had plastic of the filters for protection. You can see one before we finished removing it in the picture below.
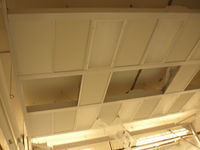
We also have plastic covering the pre-filters during installation.
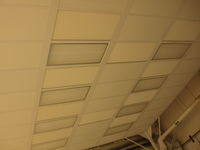
We now have a clean room ceiling
7/28/11
Fans and lights were wired up for electricity by Facilities.
7/29/11
no progress, basement cleanup needed attention
8/1/11
Put dual lock (velcro) all along the top to hang the walls from
8/2/11
Dan and Tony installed most of the strip door. We departed from the design by using 2 anchor bolts on each strip section in addition to the three lag screws. We also mounted it a little differently so the curtain frame is flush with the end tubes. This was a 90 degree rotation putting more of the aluminum strip door frame surface along the end frame tube instead of just the edge. An installer from Clean Air Products suggested this as an installation method. Given the weight and the metal frame around the vinyl, we thought it would be more secure.
8/5/11
I installed better prefilters last night and turned the HEPA filters on this morning. They are set to Medium which is identified as a flow of 675 CFM in the manual.File:Clean Air FilterDescript 10-15-10.pdf
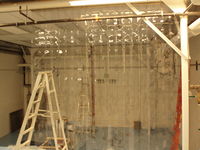
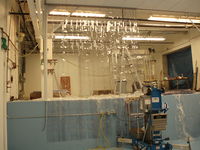
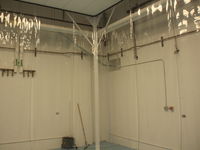
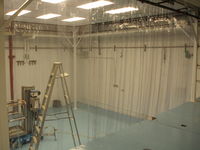
The walls are up.
Next step, build the changing room. We chose to use ODUs model of putting a fan in the changing room.
