Difference between revisions of "201202 R1ProgressRep"
(→2/9/12) |
|||
| Line 39: | Line 39: | ||
#Removed Drift Chamber | #Removed Drift Chamber | ||
| − | # | + | #re-positioned the rotating shaft to its original position |
| − | #Reinstalled magnet rail | + | #Installed bolt 18 to prevent shaft from moving horizontally. |
| + | #Reinstalled magnet rail with drift chamber lying horizontally on the floor | ||
| + | #installed chamber back onto the A-frame | ||
#reinstalled magnet | #reinstalled magnet | ||
#hooked up power supply leads to begin tension measurements | #hooked up power supply leads to begin tension measurements | ||
Revision as of 19:52, 15 February 2012
2/2/12
Chamber is being rotated this morning to start potting on the next endplate. All plugs and standoffs have been glued on this endplate.
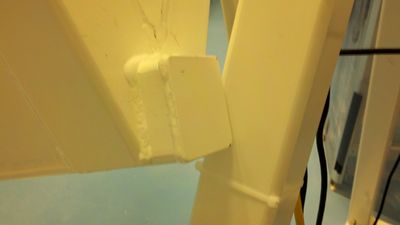
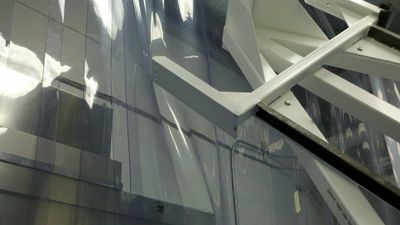
There were clearance issues as we were trying to position the chamber to pot the other endplate.
The magnet rail needed to be removed so that we could position the chamber properly.
Also, we are limited to how much we can rotate the chamber.
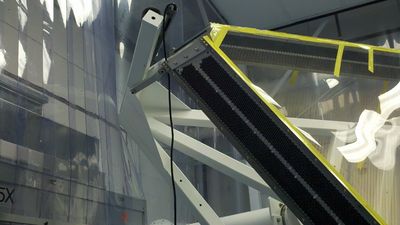
 Camera settings give this image a yellow hue...sorry :P
Because of this clearance issue, we couldn't even rotate the chamber 270°, but I don't even know if we will ever need to rotate the chamber this much.
We got around this by shifting the entire chamber/strongback/upper shaft forward several inches.
2/6/12
Potting has been completed.
Mylar window installation will begin tomorrow.
2/9/12
After some discussions it was decided that we need to re-measure the wire tensions and re-check wire integrity to confirm the chamber is ready for Mylar window installation.
The magnet will be re-installed.
Tested wire integrity on first 30 wires SL2
2/14/12
- Power supply current for magnet set to 50Amps DC
- Removed Drift Chamber
- re-positioned the rotating shaft to its original position
- Installed bolt 18 to prevent shaft from moving horizontally.
- Reinstalled magnet rail with drift chamber lying horizontally on the floor
- installed chamber back onto the A-frame
- reinstalled magnet
- hooked up power supply leads to begin tension measurements
Hampton Roads Article on ODUs R2 construction
http://hamptonroads.com/2012/02/device-built-odu-crack-natures-code-takes-ride

